Posted by Rejel on 7th Jun 2024
Your one stop guide to sensor pad replacement
As sensor pads can wear out and dis-colour, the performance of your sensors can be affected. Here is a detailed guide for anyone looking to replace their old sensor pads.
Before detaching the glued sensor from the
windscreen ensure there is no power supply to the sensor unit by removing the
ignition key.
1.) Detaching the glued sensor from the windscreen:
Often behind the rear-view mirror, the cover for the sensor needs to be removed as well as the sensor bracket. Using a low level warmth on the outside of the glass to raise the temperature can help break the adhesive seal between sensor pad and the windscreen to aid easy removal. Avoid heating beyond 25C and use your Esprit heater or a hair dryer or similar.
Sensor removal tools are also available and can be used to break the adhesive seal between the sensor and glass. Do not use razor blades to remove the sensor unit as this may cause damage.
2.) Removing the adhesive pad from the optical unit:
If the old sensor doesn’t come away easily, for glued sensors additional heat may need to be applied to help in the removal of the old adhesive pad. Remove the remaining adhesive pieces in a longitudinal direction or peel off with your thumb. Do not use any razor blades or cutting tools to remove adhesive pads from the sensor surface as this may scratch the surface and render the optical element unusable.
3.) Cleaning the optical unit:
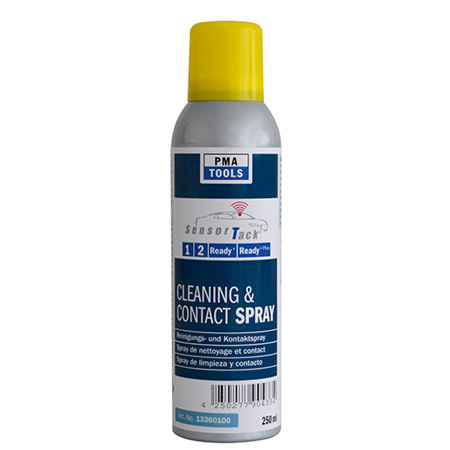
Thoroughly clean the face of the sensor surface that is to receive the new adhesive pad with Sensor Tack sensor activator or Isopropyl cleaning product and a lint-free cloth.
4.) Cleaning the windscreen:
Thoroughly clean the area of the windshield where the sensor is to be attached with
sensor activator or Isopropyl cleansing product (such as Esprit E-Spray) and a lint-free cloth.
5.) Attaching the adhesive pad to the optical element:
For those sensor pads that come with self-adhesive, partially remove a small section of the cover of the adhesive pad and place on one side of the face of the sensor and slowly by peeling off with your thumb, remove the rest of the cover of the adhesive pad and press it onto the face of the sensor in stages. Never attempt to press the adhesive pad over the entire surface in one operation/movement as this may result in bubbles forming on the optics side. Press the adhesive pad onto the sensor unit in stages this will allow any air bubbles to be dispersed.
Caution: during and after pressing the adhesive pad onto the sensor, avoid deformations to the outer red surface or liner of the adhesive cover material.
6.) Detaching the outer protective cover from the adhesive pad:
To improve the adhesive characteristics, and to ease the removal of the red protective cover, you can again use your Esprit windscreen heater or similar to warm up the adhesive pad. The heat source should be directed on to the adhesive pad for only a few seconds until the surface of the red protective cover starts to deform (ripples). Carefully remove the protective cover from the adhesive pad by first lifting up one corner and then in an even movement, pull off completely or use the pull-off tag where applicable. Avoid making any impressions on the exposed adhesive pad. The sensor unit should be immediately placed onto the glass in the desired position as the adhesive surface is electro statically charged and may attract dust particles if left exposed to the environment.
For sensor pads that do not have self-adhesive coatings, once the sensor has been cleaned with Sensor Activator, the pad is laid into the sensor bracket.
7.) Attaching the optical element onto the windscreen:
Moisten on the clean, dust-free area of the windshield where the sensor is to be attached. Moistening is so that is possible to slightly move the sensor unit during installation. It is advisable not to place the optical element directly onto the glass but to start at an angle and gradually lower it into position without pressure. Slide the optical element back and forth until no bubbles are visible by checking the outside of the windshield. (The curvature of the windshield can affect the initial adhesion and may influence the formation of bubbles.) When the sensor is in its final position apply slight pressure to complete the installation process.
8.) Final inspection of the glued sensor unit:
Examine the final assembly for a bubble-free installation. If there is any contamination or bubbling, repeat the application process.
The information expressed in this publication is intended as a general guide only, and as product features may vary according to each specific Model / manufacturer it is recommended that you always seek the latest information from the vehicle manufacturer.